A proper roof replacement involves several important steps, including inspection, planning, permits, removal of the existing roof, checking the roof deck, installing underlayment and roofing materials, and completing the required inspections.
The exact process can vary depending on the roofing system, roof condition, roof pitch, materials, and local building requirements.
However, most residential roof replacements follow a similar process.
The Steps:
1. Roof Inspection and Evaluation
2. Choose the New Roofing System
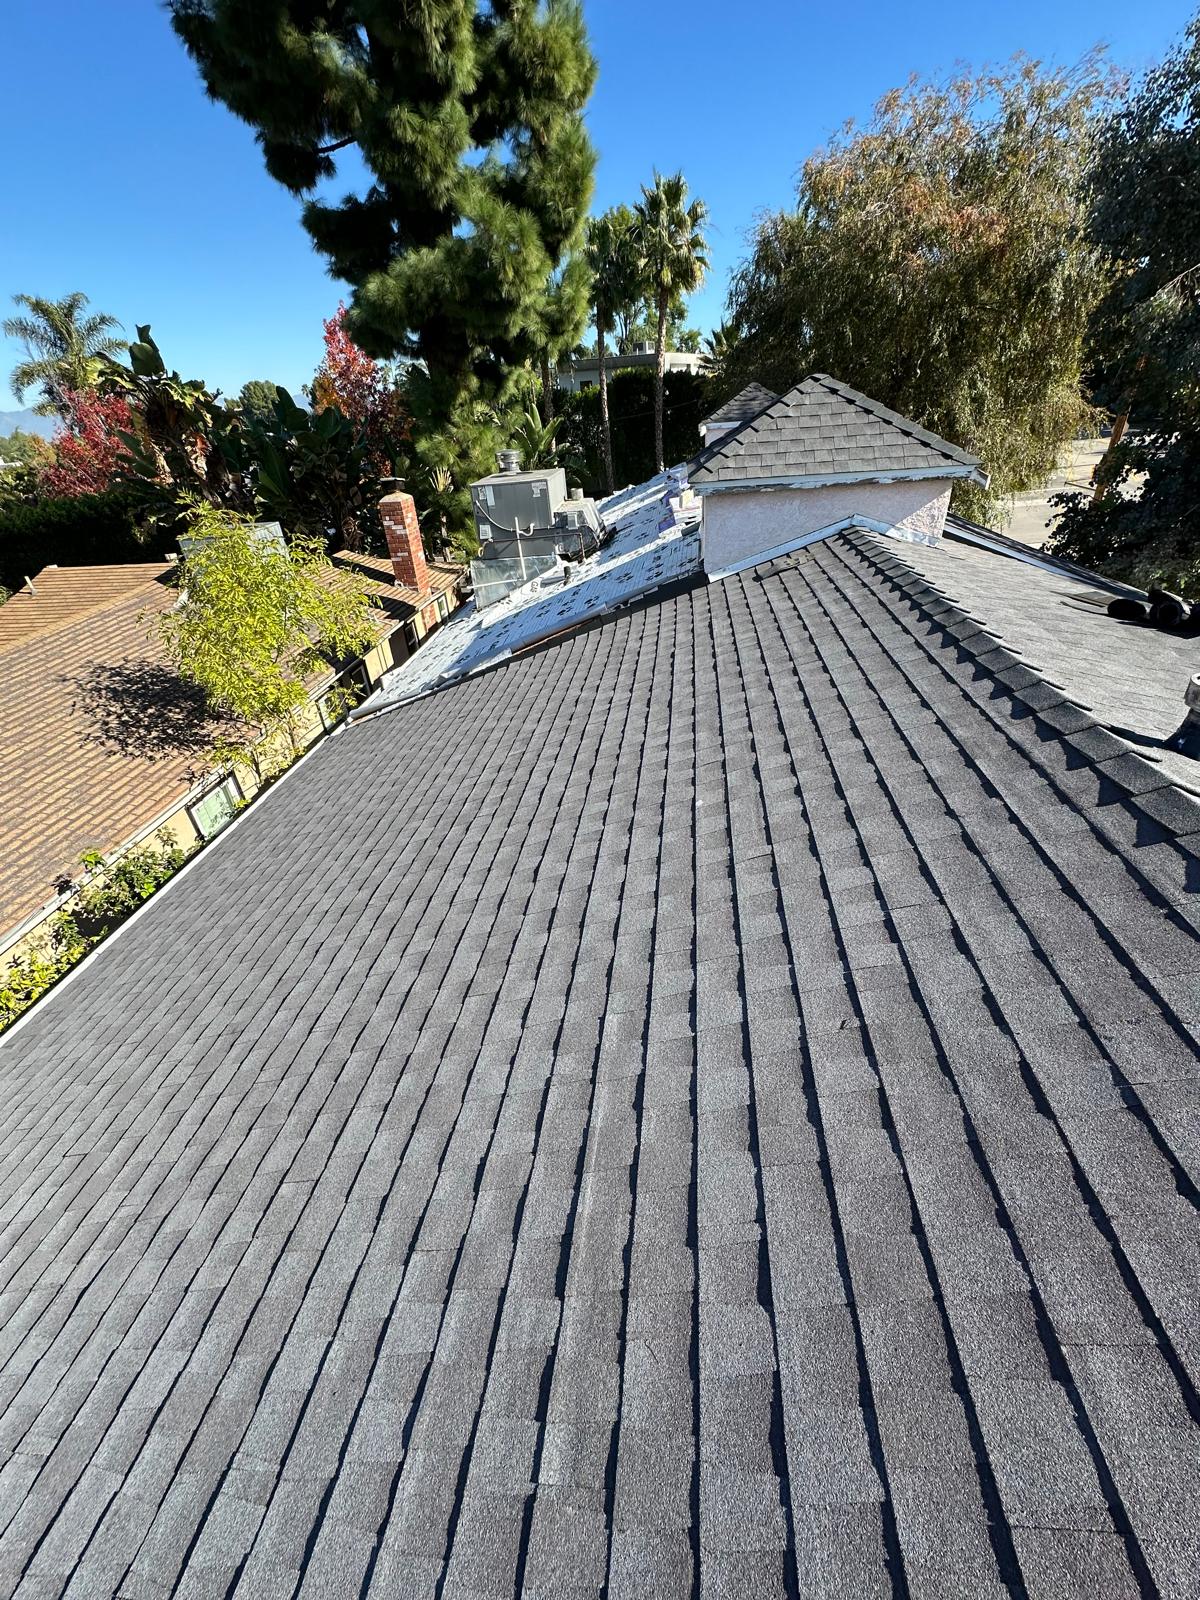
- Asphalt shingles
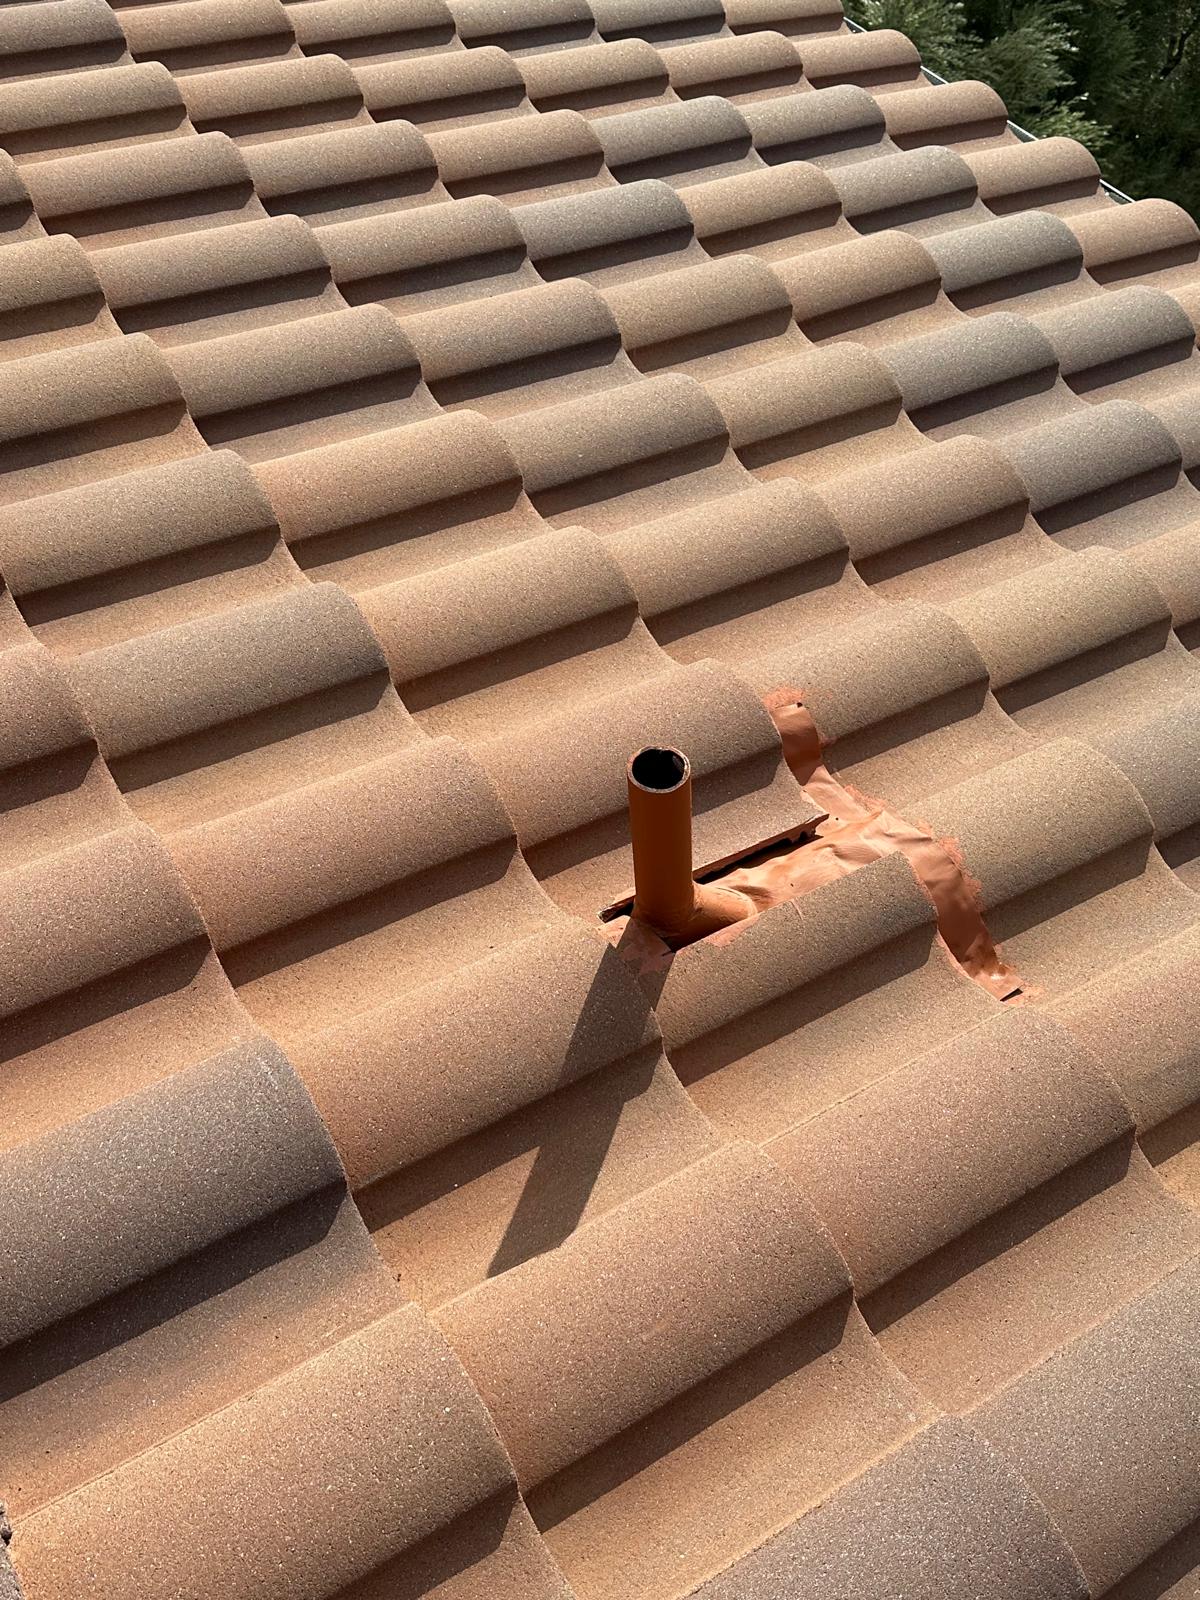
- Concrete tile
- Clay or Spanish-style tile
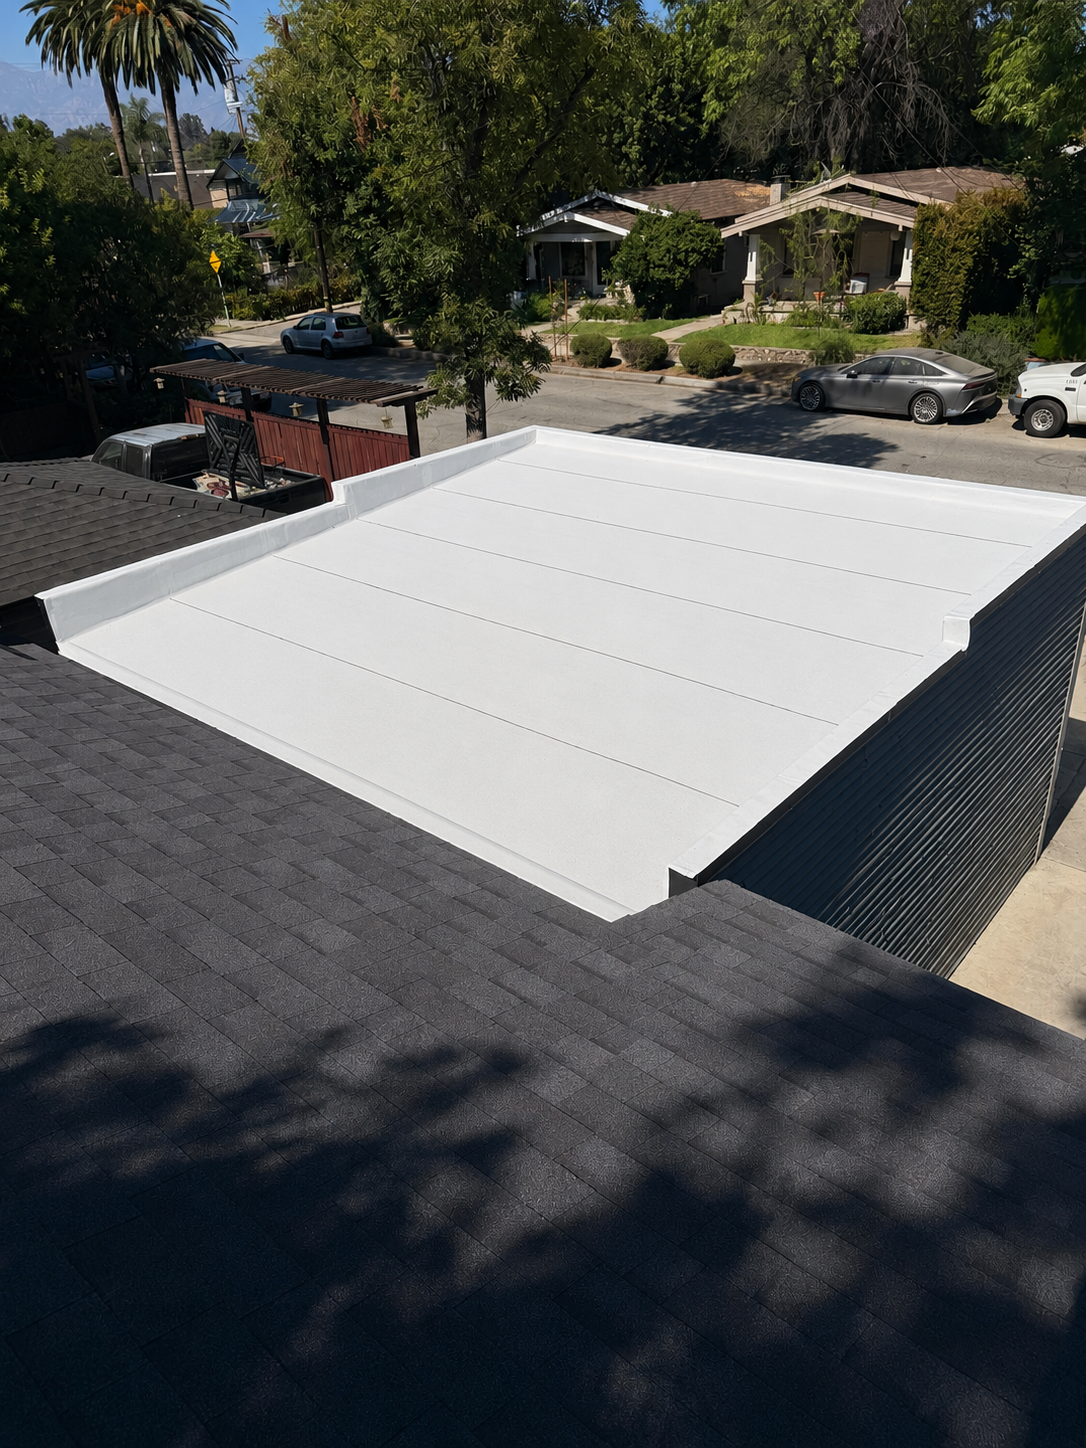
- Flat roofing systems
3. Prepare the Estimate and Scope of Work
A good estimate should clearly explain what is included and identify potential additional costs, such as extensive wood replacement discovered after the existing roofing is removed.
4. Obtain Roofing Permit
5. Remove the Existing Roofing
6. Inspect the Roof Deck
7. Complete Required Sheathing Repairs and Inspection
8. Install the Underlayment and Water Protection
Depending on the roofing system, this may include:
- Underlayment
- Self-adhered membrane
- Ice and water protection where required
- Flashing
- Drip edge
- Valley protection
9. Install the New Roofing Material
10. Install Flashing, Vents, and Roof Accessories
11. Final Inspection and Quality Check
12. Clean Up the Property
13. Review the Completed Roof
What Is the Most Important Part of a Roof Replacement?
A roof replacement is a complete system, not just the visible shingles, tile, or flat.
Proper preparation of the roof deck, drainage, underlayment, flashing, ventilation where applicable, and installation of the roofing material are all important.
A properly installed roofing system should follow the manufacturer’s installation requirements and applicable local building requirements.
Roofing Done Right. Built to Last.